Kim K Effect Lashes – How to Create This Iconic Look Step by Step
4th Feb 2026
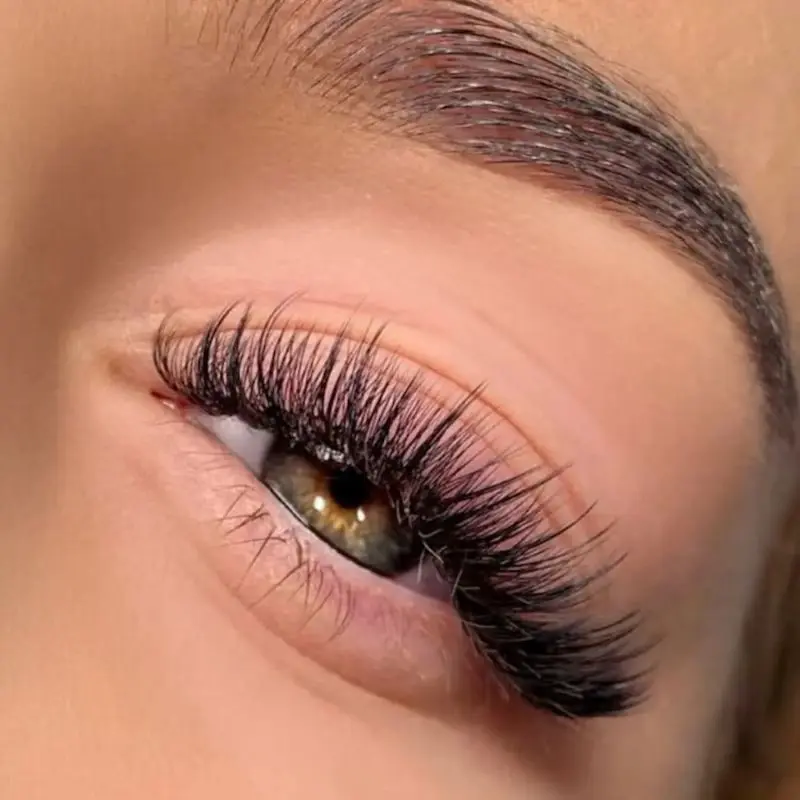
Kim K–style lashes are one of the most requested glamour looks in lash salons. The signature “spikes,” a darker lash line, and soft, longer peaks make the eyes look more open, defined, and effortlessly polished.
In this article, you’ll learn:
-
What the Kim K effect is
-
Who it’s best suited for
-
How to create it step by step (with mapping and length guidelines)
What Is the Kim K Lash Effect?
The Kim K effect is inspired by the lash trend popularized by Kim Kardashian. It combines:
-
a deeply darkened lash line (similar to a soft eyeliner effect),
-
lighter, softer tips for an airy finish,
-
distinctive longer lash clusters called “spikes” that stand out above the base.
Those spikes are what create the iconic look—bold yet classy when the proportions and transitions are done correctly.
Who Does the Kim K Effect Work Best For?
Even though it may look dramatic at first glance, this style is surprisingly versatile. It works especially well for clients with:
-
Deep-set eyes – soft peaks brighten the eye area and visually elongate the shape
-
Prominent eyes – the right length choice adds balance and subtlety
-
Small eyes – mixed lengths and lift help open the eye and make it appear larger
In practice, it suits most clients. The key is accurate mapping and sticking to a few important rules.
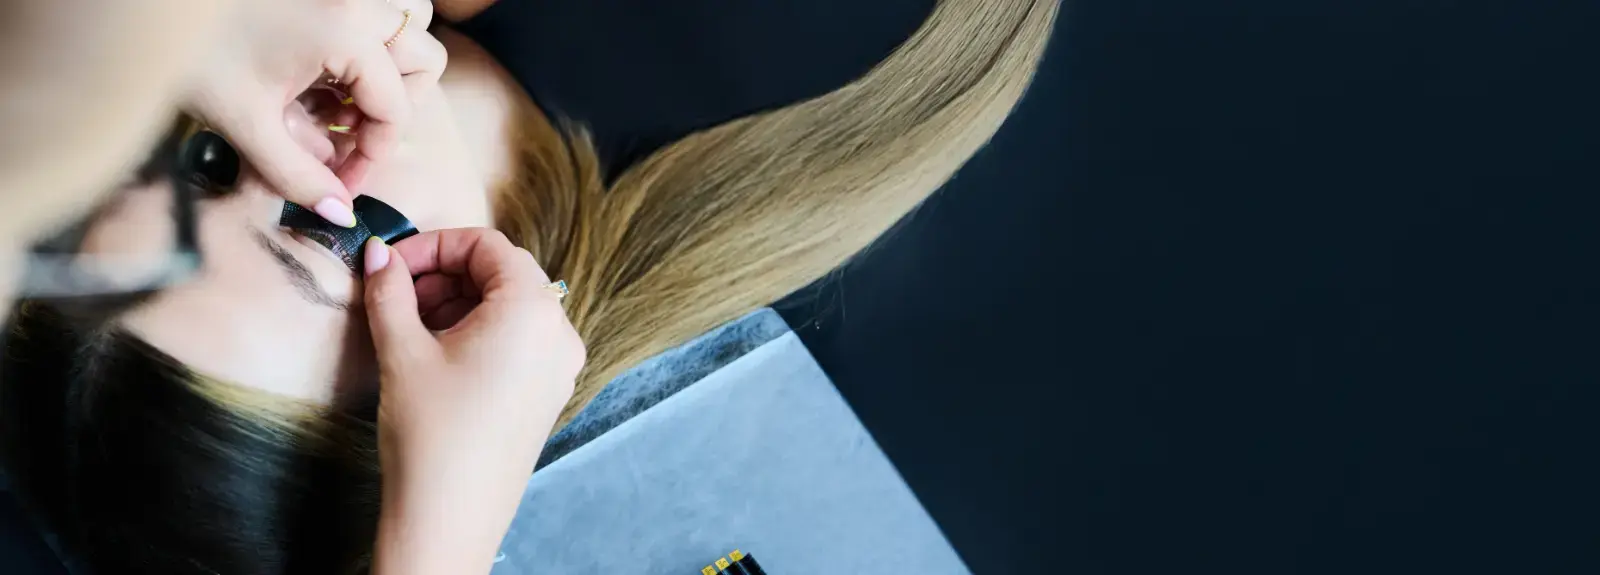
How to Create the Kim K Effect – Step by Step
Before you start, keep these three essentials in mind. They’re the difference between a beautiful Kim set and lashes that look heavy or unbalanced.
The 3 Key Rules
1) The 2 mm rule
Your spikes should be about 2 mm longer than the base lashes in that section.
2) The 30% rule
To avoid overloading natural lashes, the extension should extend no more than 30% beyond the natural lash length.
3) Mapping + smooth transitions
Divide the eye into even sections, plan where the spikes will go, and make sure the lengths blend smoothly—no harsh “steps.”
Step 1. Mapping
To keep the set symmetrical, create a lash map directly on the under-eye pads.
Do it like this:
-
Mark the inner corner and outer corner.
-
Split the lash line in half.
-
Divide each half into equal sections.
-
Decide which sections will include the spikes.
Tip: The more precise your map is, the easier and faster your application will be.
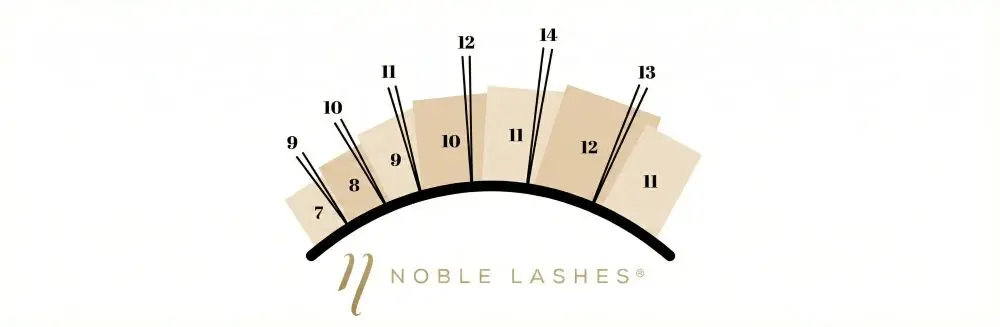
Step 2. Choosing the Base Lengths
Start by building the base—the main length flow of the set.
Example base lengths:
8 mm → 9 mm → 10 mm → 11 mm → 12 mm
This creates a clean foundation. Then you add the spikes for texture and dimension.
Step 3. Creating the Spikes
Create spikes using the +2 mm rule compared to the base in the same section.
Example:
-
if your base is 8 mm, your spike in that area should be 10 mm.
Important notes:
-
keep spikes light and controlled—“wispy” doesn’t mean messy,
-
aim for a deliberate, balanced pattern rather than randomness.
Pro tip: The longest lashes (spikes) look best when placed on the lower layer of the natural lashes—this helps the set look cleaner and more cohesive.
Make it easier: use ready-made lash spikes like Anime Lashes (perfect for this effect).
Quick Summary
The Kim K effect is all about:
-
a strong base + visible spikes,
-
controlled length contrast (usually 2 mm),
-
accurate mapping and smooth transitions.