

How to Use a Fan Maker
3rd Feb 2026
If you want to create even, clean and aesthetic lash fans quickly, a Fan Maker will be a huge support in your everyday work. It’s a tool loved by both beginner lash artists and experienced stylists working with volume techniques.
In this article you will learn:
➤ what a Fan Maker is and how it works,
➤ how to prepare it for use,
➤ how to create lash fans step by step using a Fan Maker.
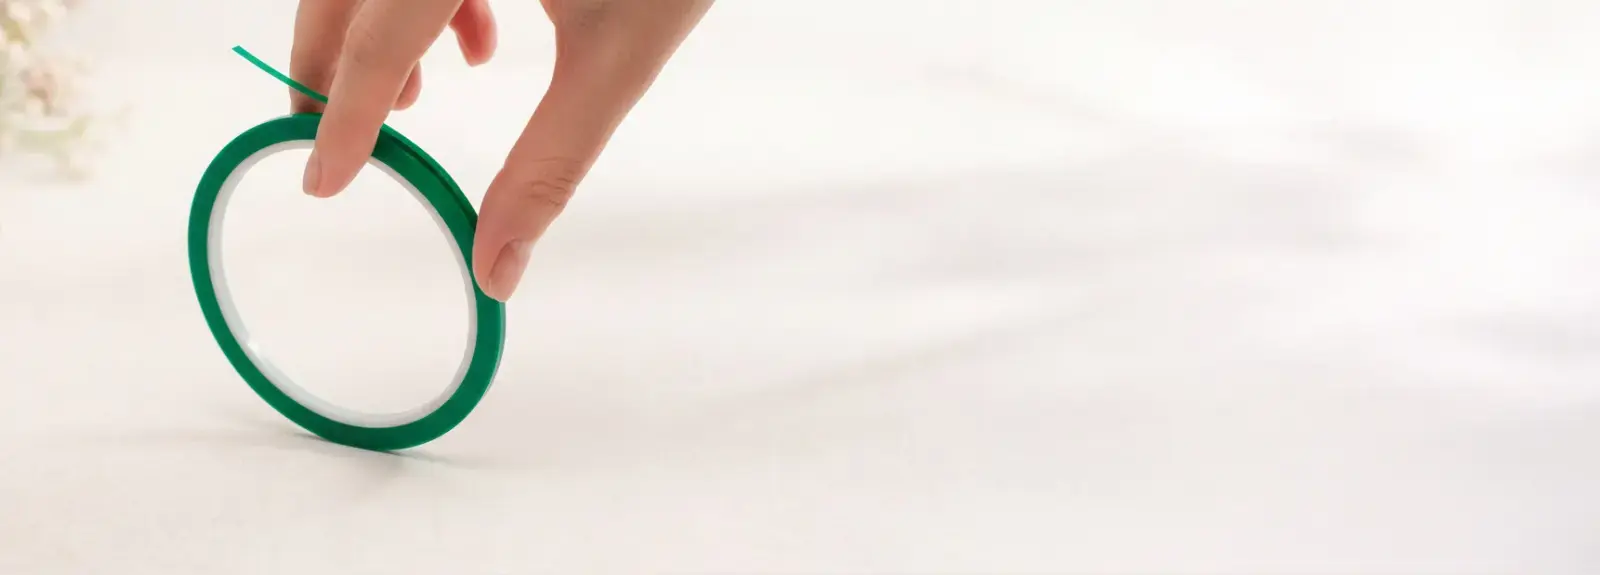
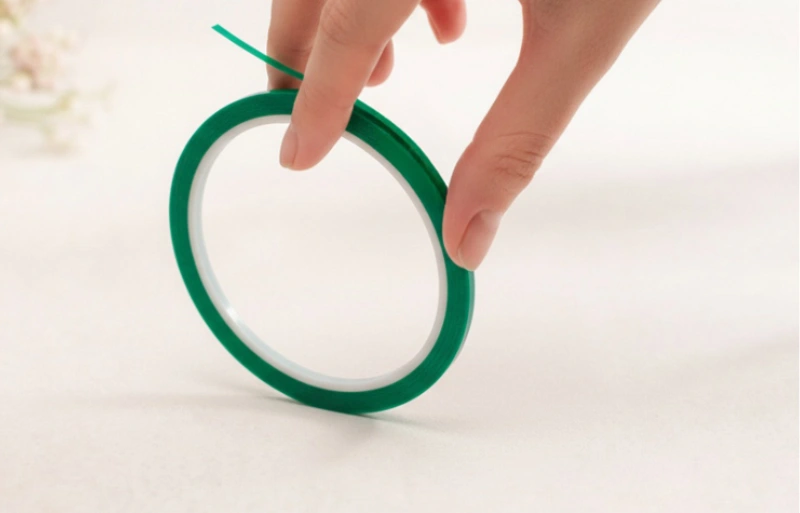
What Is a Fan Maker and How Does It Work?
A Fan Maker is a multi-layer sticky tape designed to stabilize the base of a lash fan and help spread the lashes evenly. Thanks to this tool, fans are created:
-
faster,
-
evenly and symmetrically,
-
with a compact, clean-looking base.
You don’t need to master difficult manual techniques – the Fan Maker holds the fan base in place, allowing you to focus entirely on shaping the fan.
Watch the video: How Does a Fan Maker Work?
How to Prepare the Fan Maker for Work
To ensure comfortable and efficient work, it’s worth preparing the tool properly.
1. Attach the Fan Maker to a holder
Use the included mounting tapes or double-sided cosmetic tape. The surface should be stable and not move during work.
2. Peel off the first sticky layer
The Fan Maker consists of many thin layers. One layer is enough for many fans – once used, simply remove it to reveal a fresh surface.
3. Place it close to your lash palette
Shortening hand movements significantly speeds up the application process.
How to Create Lash Fans Using a Fan Maker – Step by Step
Using tweezers, pick up the desired number of lashes from the strip depending on the volume you want to create (2D, 3D, 4–6D or more).
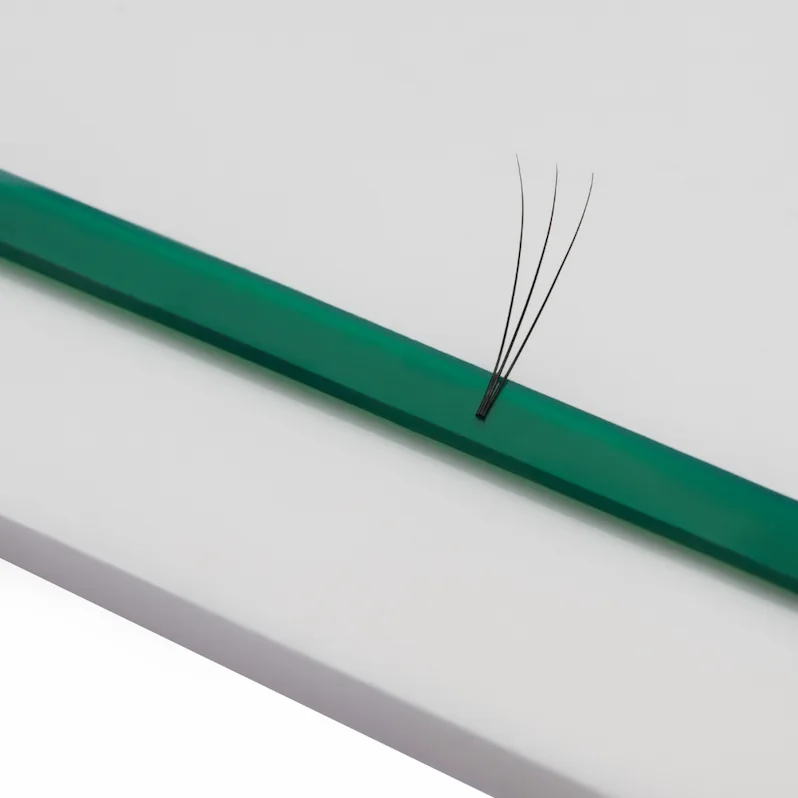
Step 2: Place the lashes on the Fan Maker
Gently place the lash base onto the sticky surface. The adhesive layer will stabilize the fan base.
Step 3: Spread the fan
With a light movement of the tweezers, spread the lashes to the sides to create the perfect fan shape. The Fan Maker keeps the base in place, giving you full control over symmetry.
Step 4: Remove the finished fan
Grab the fan just above the base and gently lift it off the tape. The fan will keep its shape and structure.
Step 5: Apply to the natural lash
Dip the base into adhesive and apply the fan just like a standard volume lash fan.
Why Is the Fan Maker a Great Choice?
✔ A huge help for beginner lash artists
✔ Significant time-saving without sacrificing quality
✔ Multi-layer design – one tool lasts for weeks
✔ Versatile – perfect for 2D–6D methods and larger volumes
Tips from Lash Artists
✔ Do not press the lashes too hard – the sticky layer will hold them naturally
✔ When the surface loses its stickiness, peel off the used layer and continue working
✔ The perfect fan is created with gentle, precise tweezers movements