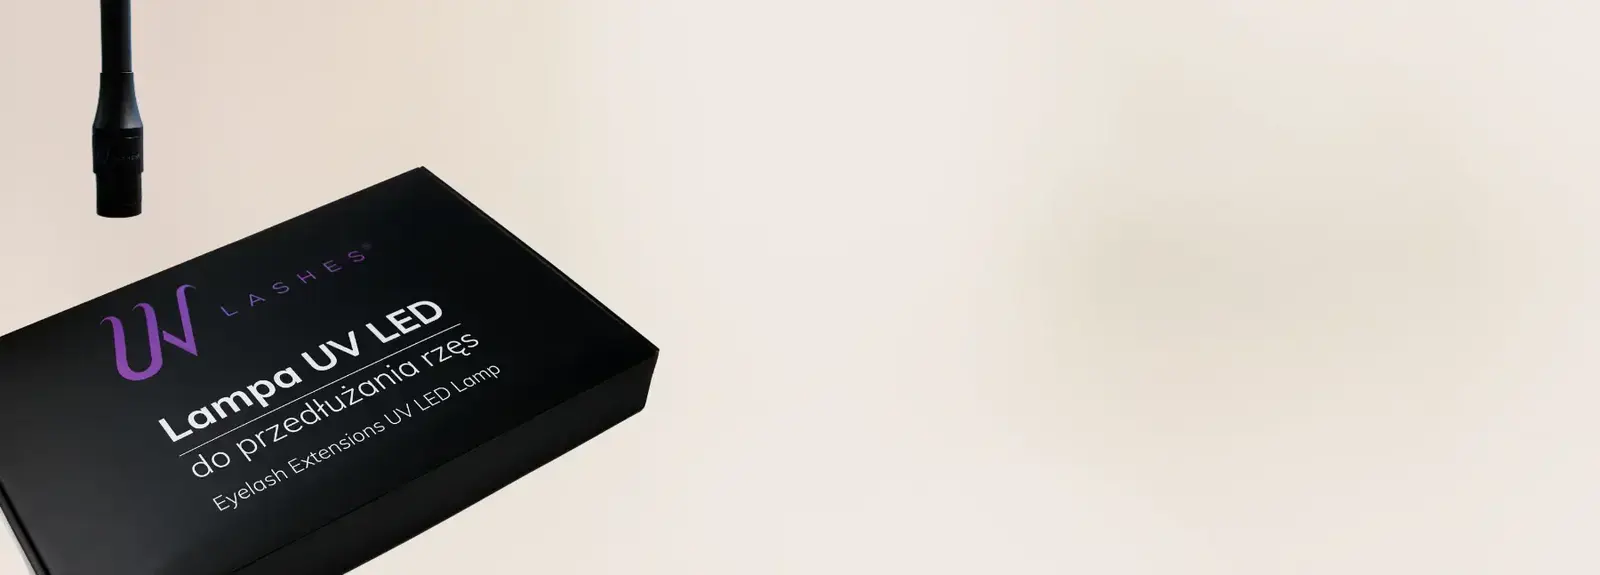
Has your brand-new UV lamp just arrived and you’re not sure what to do next? Don’t worry — we’ve prepared a clear, step-by-step guide that will help you assemble your UV lash lamp in just a few minutes.
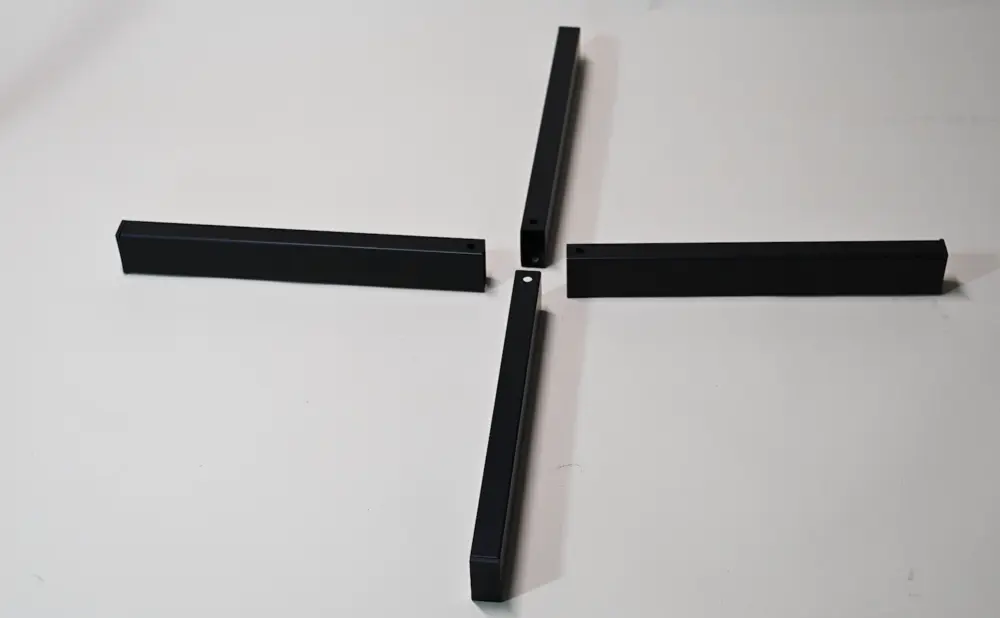
Step 1. Assemble the lamp base
Place all four legs of the UV lamp on a stable, flat surface. Then, using the round metal plate and screws included in the set, connect the elements to create a solid and secure base.
Finally, attach the wheels to each leg to ensure easy mobility and comfortable use during work.
Step 2. Assemble the lamp frame
The long arm of the lamp is factory-connected with a cable. Carefully tighten all components to ensure the structure is stable and secure. Then use the long screw to firmly attach the frame to the lamp base, ensuring safety and comfort during use.

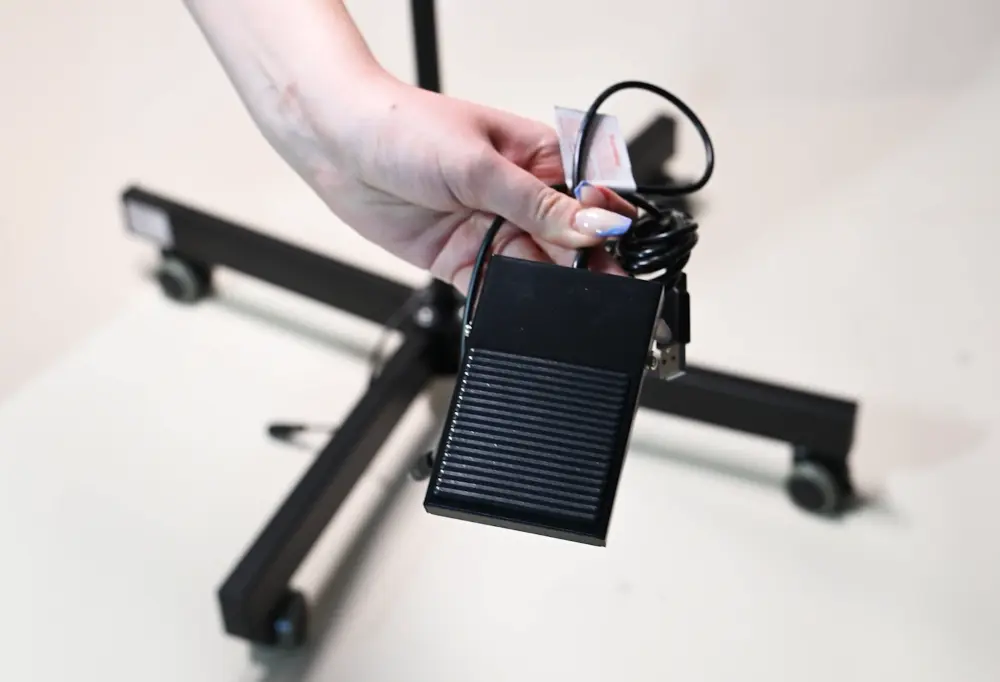
Step 3. Powering the UV lamp
The foot pedal included in the set is equipped with two cables. Connect one cable to the wire coming from the UV lamp, and plug the other one, finished with a USB connector, into a suitable power source.
Once connected, the lamp is ready for hands-free operation.
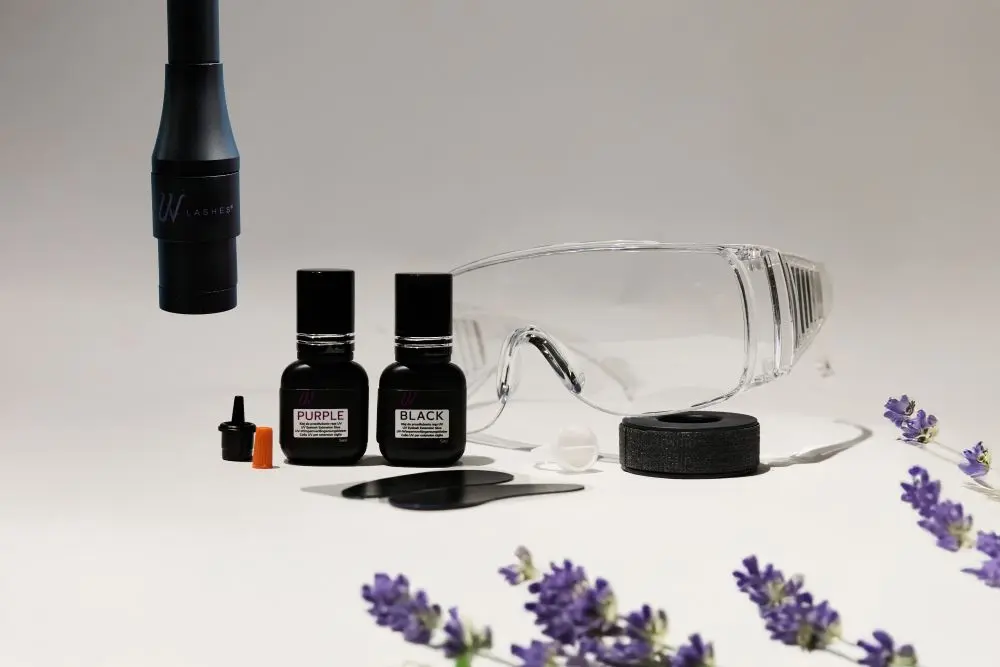
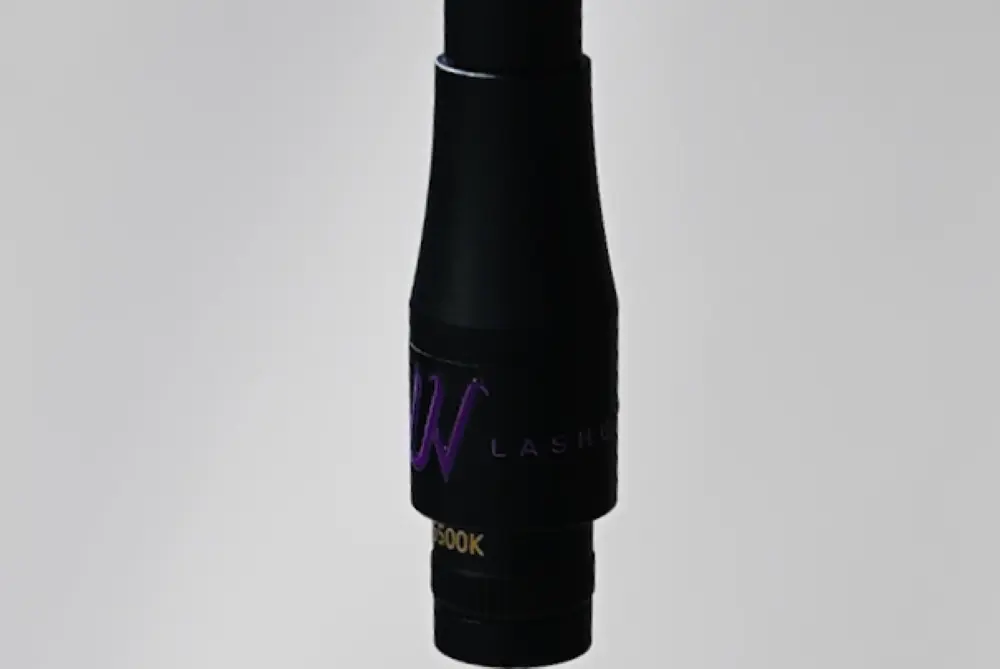
Step 4. LED or UV diode
Connect the UV or LED diode to the lamp and activate the light using the foot pedal. The UV lamp from Noble Lashes allows you to easily switch between UV and LED light thanks to the interchangeable diode, letting you adjust the lighting to your technique and personal preferences.
Did you know that…
-
The UV lamp for eyelash extensions weighs only 2.8 kg, making it lightweight and easy to use on a daily basis.
-
The lifespan of the UV Lashes lamp reaches up to 5,000–6,000 hours, ensuring long-lasting and reliable performance.
-
The UV method lamp comes with a 2-year warranty, giving you complete peace of mind.
-
UV glue cures in just 1–4 seconds, significantly reducing treatment time.

