

5 Steps to Perfect Ombre Eyebrow Tinting
8th Jan 2026
The ombre effect is exactly what your clients are looking for — defined yet natural-looking brows, with a soft front and a more intense tail. It’s one of the most popular brow styling trends and a true Instagram favorite.
Follow these 5 simple steps to create flawless ombre eyebrows that will impress every client.
In this article, you’ll learn:
➤ what the ombre eyebrow effect is
➤ how to achieve perfect ombre brows step by step
➤ which brow tinting method to choose — henna or dye
What is the ombre eyebrow effect?
The ombre effect is based on a smooth, gradual color transition — from lighter at the front of the brows to darker at the tail. Ombre eyebrow tinting enhances the natural hair growth while defining the shape and visually lifting the brow arch.
What do ombre eyebrows look like?
Well-executed ombre brows:
-
visually lift the brow arch,
-
provide natural definition of shape and color,
-
help balance facial symmetry,
-
create a soft, makeup-like finish without looking harsh.
For a professional, seamless result, choose high-quality products such as henna from Noble Brow.
How to create ombre brows with henna or dye?
Whether you work with powder henna or brow dye, technique is key. Follow these 5 steps to achieve a flawless ombre effect.
Step 1: Thoroughly cleanse the skin and brows
Clean skin is essential for long-lasting color. Residual sebum, makeup, or previous tinting can affect both the shade and durability.
✔ Perform a gentle peeling to remove dead skin cells
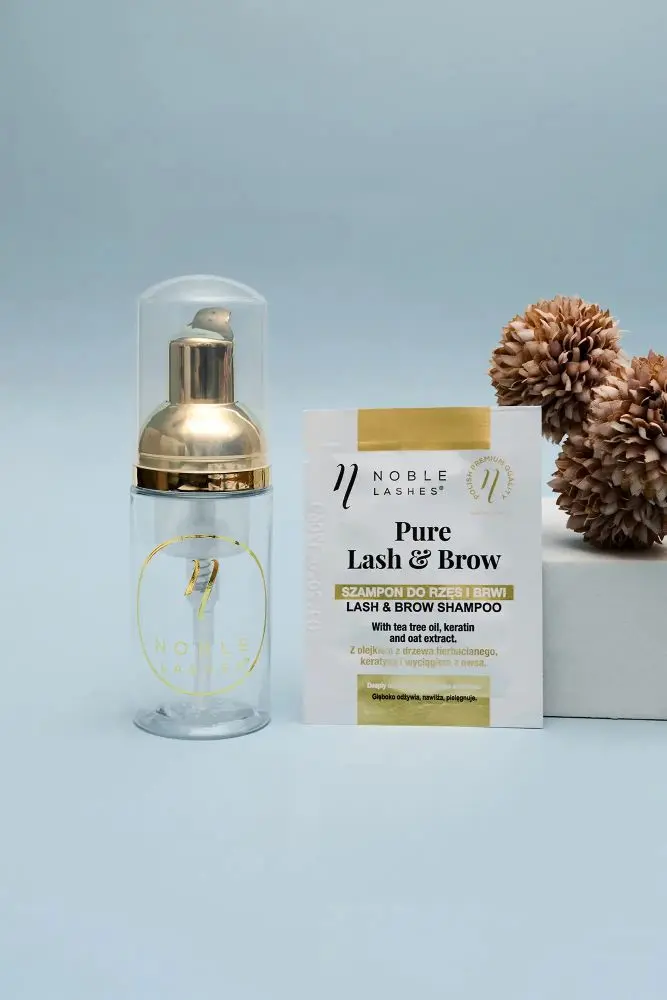
✔ Then cleanse the area with a brow and lash shampoo
Step 2: Start tinting from the tail of the brow
This is the golden rule of ombre brows. Applying the product from the tail toward the front allows:
-
longer processing time on the tail,
-
deeper color intensity where it’s needed most.
Leave the front of the brow for last to keep it soft and subtle.
Step 3: Use a stamping brush technique
Avoid dragging or blending the product.
✔ Gently press the henna or dye into the skin
✔ This gives you better control over the color gradient
You may apply slightly more pressure at the tail, but always work lightly and delicately at the front.
Step 4: Create a soft brow front
The front of the brow should remain semi-transparent.
Apply a very thin layer of product using an almost dry brush — this detail is what creates a truly professional ombre effect.
Step 5: Control the processing time
Do not remove the product from the entire brow at the same time:
-
remove from the front after 1–2 minutes,
-
then from the middle section,
-
keep the tail on the longest.
This simple timing technique ensures a smooth, natural color transition.
Which eyebrow tinting method is best?
Both powder henna and brow dye can create a beautiful ombre effect — the choice depends on the desired result:
-
Brow dye → softer, more natural finish
-
Powder henna → bold, makeup-style effect
Choose the method based on your client’s beauty type and personal preferences.